
In this post, we will guide you to save your waveforms from DSO (Digital storage oscilloscope). We’ll not be going to discuss DSO in detail however only how you can save waveforms from this device will be shared in this post or article.
Please follow our exact instructions to get your work completely done. well, with that said let’s dive in…
[Note: Before inserting your Pendrive make sure your pen drive is 4GB or less. The file format will be BMP/PNG/JPEG]
Agilent DSO1002A:
- Insert pen drive >>>> Create Folder/File >>>> Save
Step 1: First, Insert your pen drive into the USB port right below the DSO screen.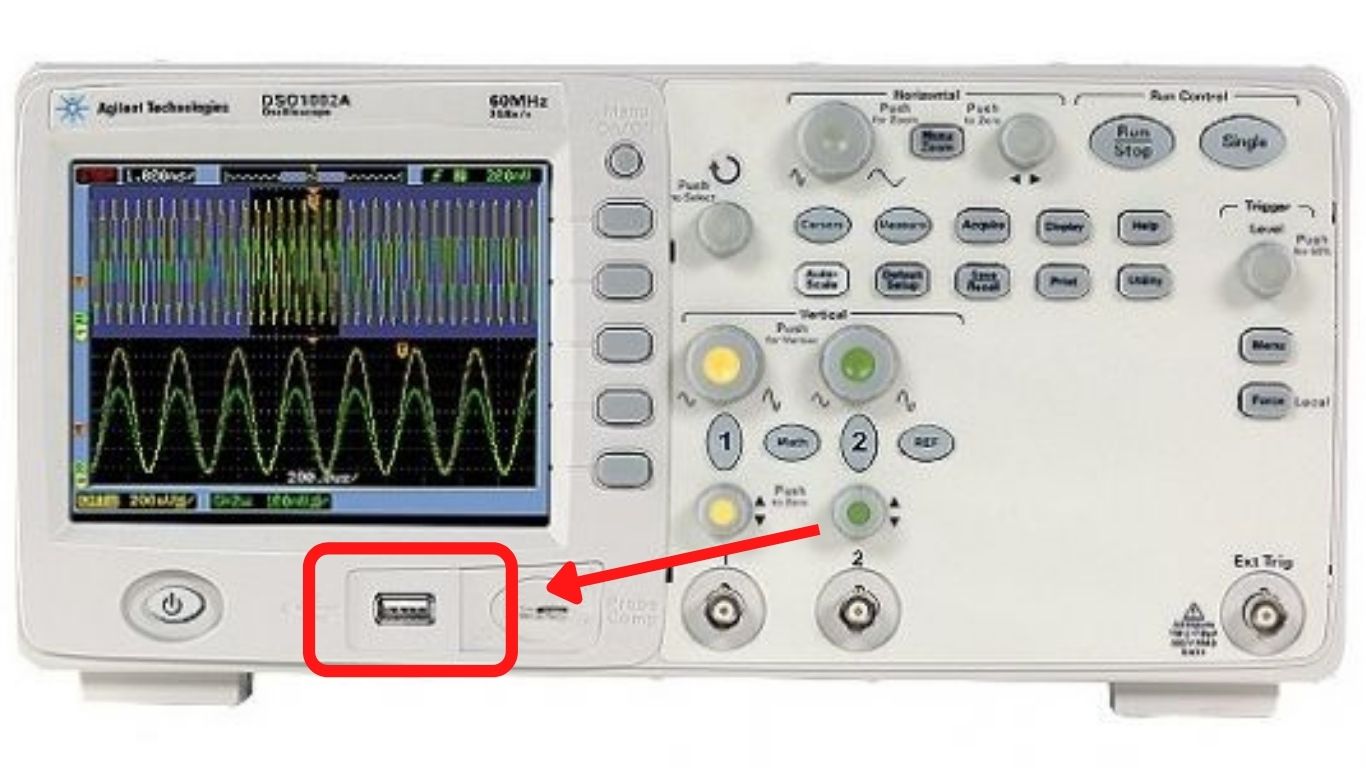
As soon as the pen drive gets detected by the DSO a message will appear on the screen which is written: “USB Device Installed”.
Step 2: Press the “Save/Recall” button of the DSO. You will see a column appear on the right side of the DSO screen. Now, under the “Storage” section, use the multipurpose knob to switch into different formats and select the format by pressing the same.
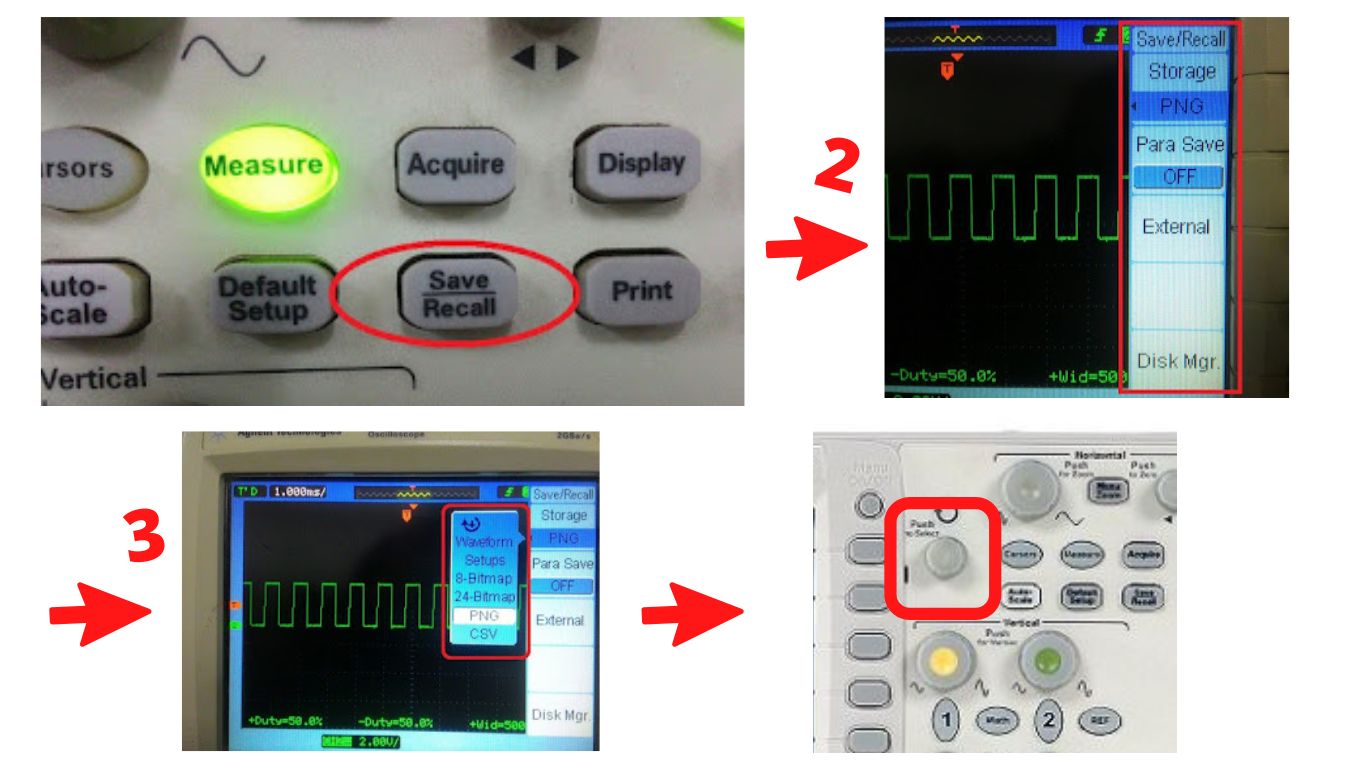
Step 3: Now, push the button adjacent to the heading “External” to navigate to the folder menu. Here you can create or delete folders and files where to save. [Note: By default, the explorer is ‘File’].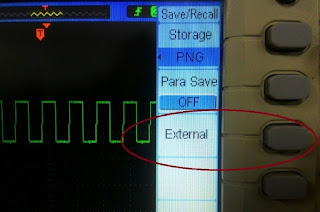
Step 4: Press the button adjacent to it to change ‘Directories’. Select the directories within which you want to save the file by using the multipurpose knob.
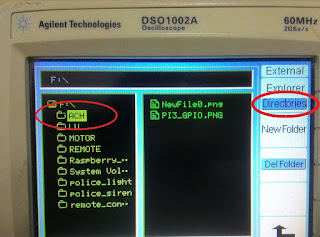
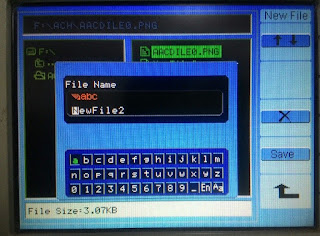
If you want to create a folder you can do it by pressing the button adjacent to the heading ’NewFolder’. You can edit the name by using the multifunction knob. Then press the button adjacent to the heading ‘Explorer’ to switch over back to file explorer of the selected directory. Now press the button adjacent to the ‘New File’ and give it a name by using the multifunction knob.
Step-3: Now finally press the button adjacent to the heading “Save” to save your waveform.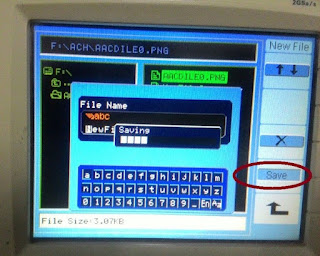
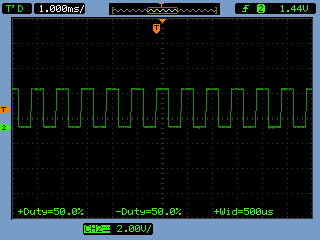
Then remove your pen drive. Now the saved image will look like this:
Tektronix DSO TBS1022:
- Insert pen drive >>>> Save or
- Insert pen drive >>>> Create Folder >>>> Save
Step 1: Insert your pen drive into the USB port at the bottom right corner below the screen. If the pen drive is detected then a message will come up on the screen like this.
[Note: It’s recommended that always use a blank pen drive so that the verification time will be less]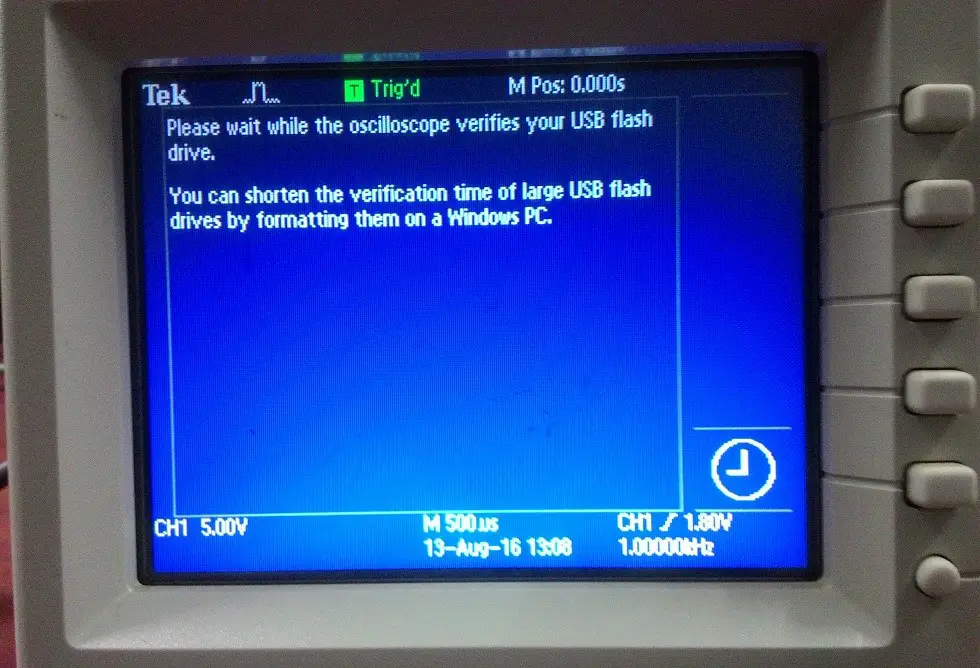
Step 2: Then press the button “Save/Recall”, SAVE/REC information column will appear right side of the screen.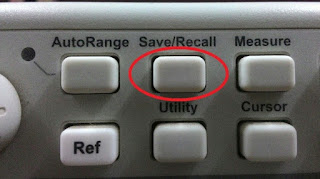
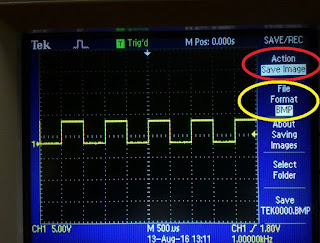
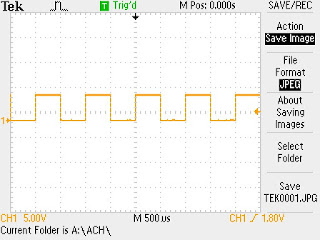
Step 3: Press the button adjacent to the heading ‘Action’ and choose ‘Save Image’. Then press the button adjacent to the heading “File Format” and select the file type ‘JPEG’.
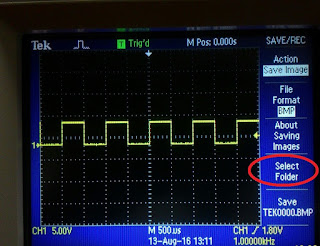
Step 4: Now you can save the waveform image by pressing the button adjacent to the tag “Save TEK001.JPG”. it will save the file directly on the pen drive. If you want to save the waveform inside a folder then press the button adjacent to the heading “Select Folder”.
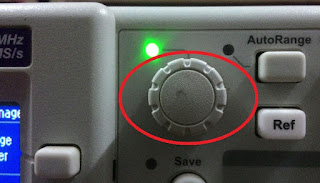
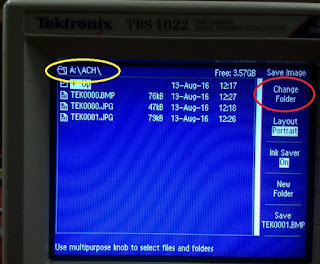
Step 5: It will navigate you through file and folder explorer. Use the multipurpose knob to highlight the folder, if you have any folder in the pen drive previously otherwise you can create a new folder by pressing the button adjacent to the heading “NewFolder” and rename the folder.
Step 6: Then a folder you created will appear on the screen. Use the multipurpose knob to highlight the folder and press the button adjacent to the heading “ChangeFolder”, now you are inside that selected folder.
Step 7: We cannot create a file and give a name to it to save the waveform, the Tektronix software gives a default file name like ‘TEK001.JPG’ etc. Now don’t press the save button here, otherwise, it will save the screen what is appearing right now instead of the waveform.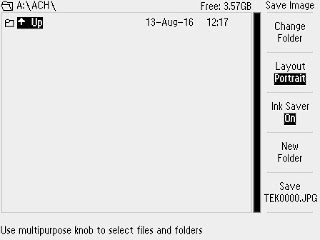
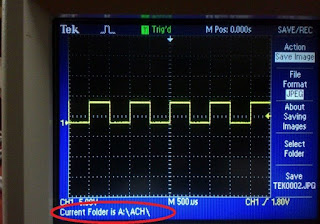
Step 8: Press the Save/Recall button again, it will take you to the waveform screen having a save option too. Immediately you can see the current folder path shortly appearing on the left side bottom corner of the screen.
Step 9: Now you can press the button adjacent to the save image heading to save the waveform image in the selected folder. A clock-like symbol will appear right side bottom corner of the screen showing that the file is being saved into the pen drive.
Now a message will appear on the bottom of the screen that “Current screen display saved to A:NewFolder\TEK001.JPEG”.
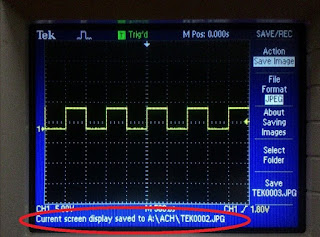
Step 10: Now it’s done, your waveform has been saved successfully into the pen drive. Now the saved image will look like this:
Reference: http://technlab.blogspot.com/2016/08/how-to-save-waveform-in-pen-drive-from.html

")
 Current Feels Different to a Shock From Direct (DC) Current?")


